I am a big fan of Urban Decay. I have a lot of their palettes, great color payoff, great deal. However, I've never been a big fan of their packaging. I travel a lot, and I really don't have any plans on hauling their gigantic palettes.
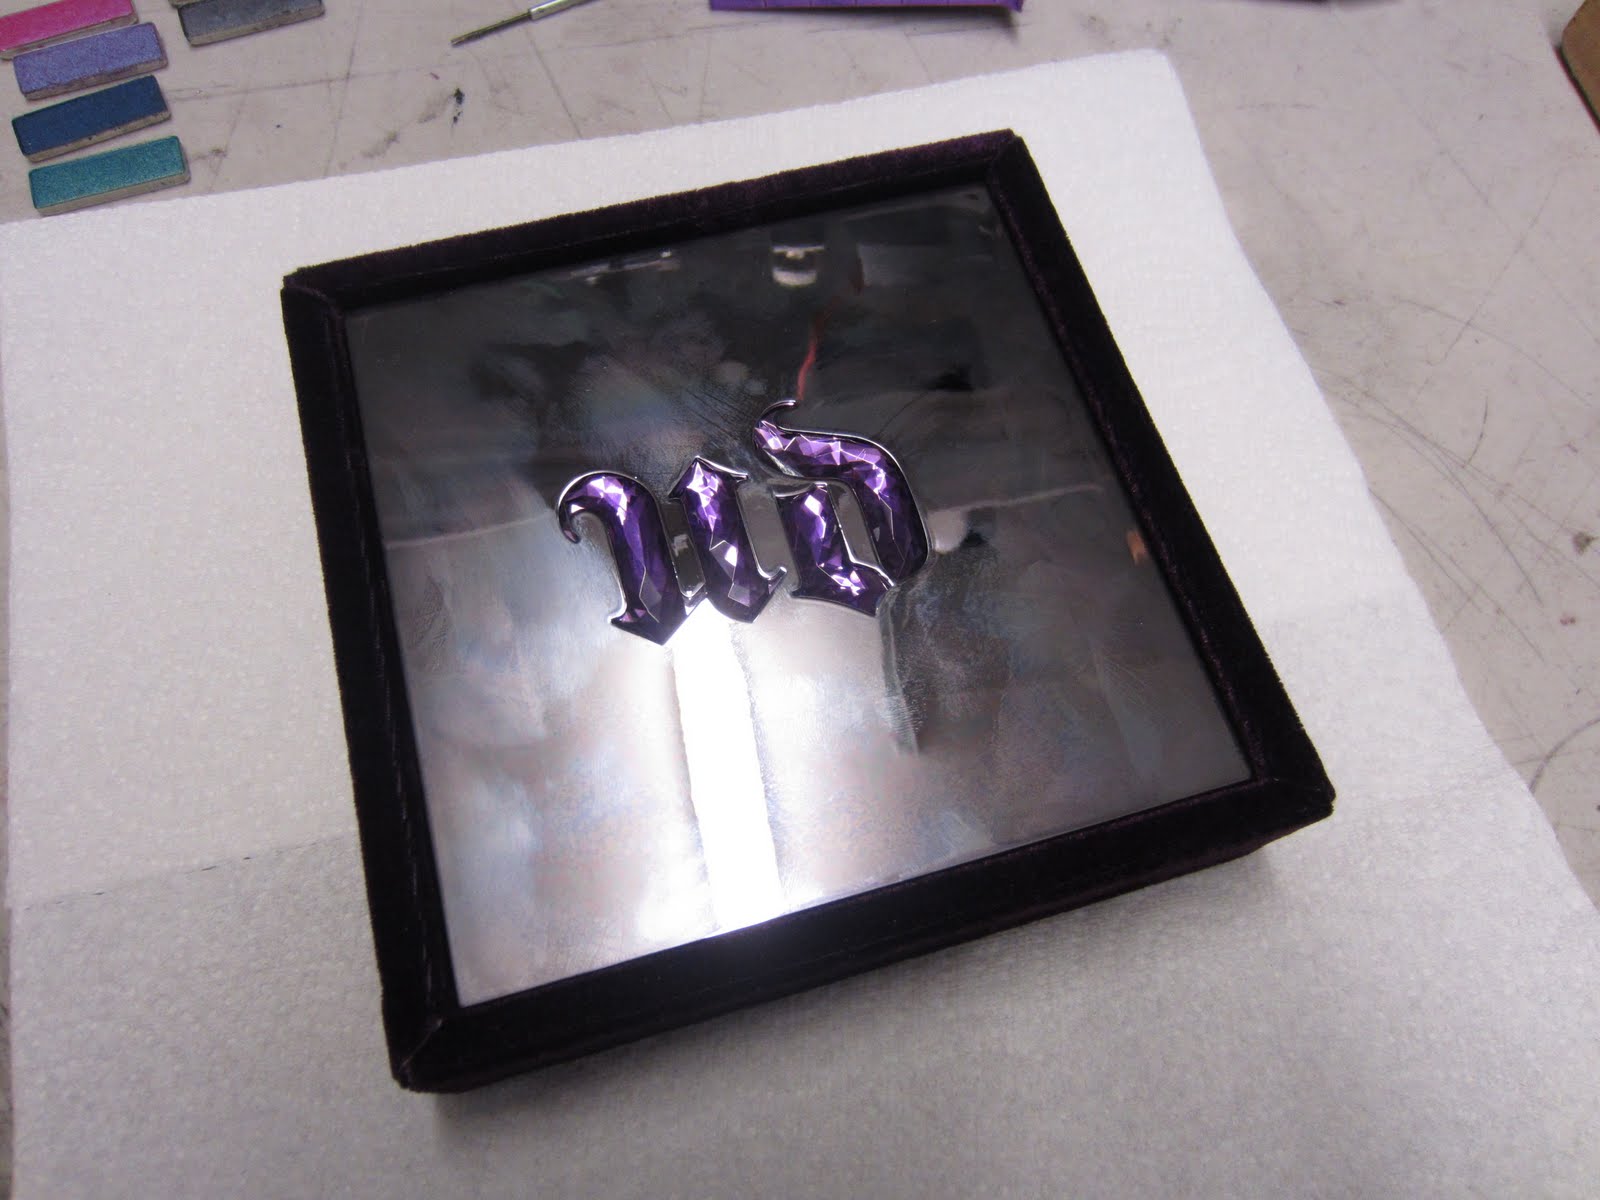
When I saw their 15th Anniversary Palette, it was love at first sight. I knew I had to get it. Biggest problem? The bulky packaging. I knew from then that I would have to depot them.
I swear, I thought it would be easier than this. I thought it would be as easy as depotting UD's Book of Shadows. I was mistaken.
Two ruined shadows later, I came up with a very easy, foolproof way of depotting these babies, are you ready?
You will need:
1. Your Urban Decay 15th Anniversary Palette (duh?!)
2. Soldering Iron (You can get this from Home Depot or Radioshack)

3. Precision Screw Driver (Or anything that is thin and is metal -- you can use cuticle pusher too!)

4. Empty Palette. (I love Z Palette! You can get it from here: http://www.zpalette.com/)


Steps:
1. Burn the back of UD's plastic casing using soldering iron. Do this on all shadows.


(Don't mind the cut-off edge -- that's my first two failed attempts :p )
2. Push the shadows out using precision screw driver/cuticle pusher.

3. I lined them up like they were in the palette everytime I removed them so I can still label them afterwards.

FINAL PRODUCT:

(Urban Decay's Book of Shadow I, III and 15th Anniversary Palette -- fits in 1 Large Z-Palette!)


Sad shadows :(
Good luck! Let me know how yours turn out!
xoxo,
Michelle
Thanks for the super easy tutorial! Once I get my palette I'll definitely be depotting them.
ReplyDeleteThis is amazing. Thank you so much. Never would I have thought to burm holes in the back and pop them out! xoxo Great blog.
ReplyDeleteI'm over here:
www.fashionCHICsta.com
Glimmer City: Thank you! Let me know how it works out for you!
ReplyDeleteNancy-Lee: Thanks! It took me a while, as you can see, i broke a few shadows before I figured it out. I tried a few techniques, all failed. :P Love your blog as well! :)
ReplyDeleteThis looks great! One thing i seriously don't like about Urban Decay are their bulky palettes. Particularly the books of shadows.
ReplyDeleteSugarbumpkin: me too! Too hard to travel with! I'll be posting a quick tutorial on how to depot your book of shadows soon! :)
ReplyDeleteWould never have thought to use a soldering iron, thanx for the tip.
ReplyDeleteFum: You're very welcome!
ReplyDeletegreat tip!!!
ReplyDeletegreat tutorial! good luck with the blogging xxxx
ReplyDeleteI got this palette and returned it cause of this. Great post and will def be sharing it with my followers (Glammies).
ReplyDeleteDon't worry about the sad shadows...there are ways to fix them! Just look it up on YouTube! Great post!
ReplyDelete@Maryiangge: Thank you!
ReplyDelete@lisadrivesavan: Thank you! Really appreciate it! :)
ReplyDelete@Lizzie: Wow! Thank you so much! My first shared link! LOL. :P
ReplyDelete@Donna Marie: I tried to, but was honestly scared coz they flew up really high and fell on the floor, didnt want to scrape them off and pack them again, scared of bacteria. :P Ah well, I don't think I'll EVER go through these anyway.
ReplyDeleteThis was such a great post!!! I too have that same problem with UD palettes. I actually used a the tip of a regular clothes iron & pressed it to separate/ dig hole in plastic. The plates are non-stick so it did the trick in about 30 mins!! Thank you ssoo much!!!
ReplyDeletetoday i depoted This palette without damaging the tray . Used lighter to heat under and needle to pull out the shadows ) works nice. none were damaged :)
ReplyDelete